Spruce up Your Kindle for Fall
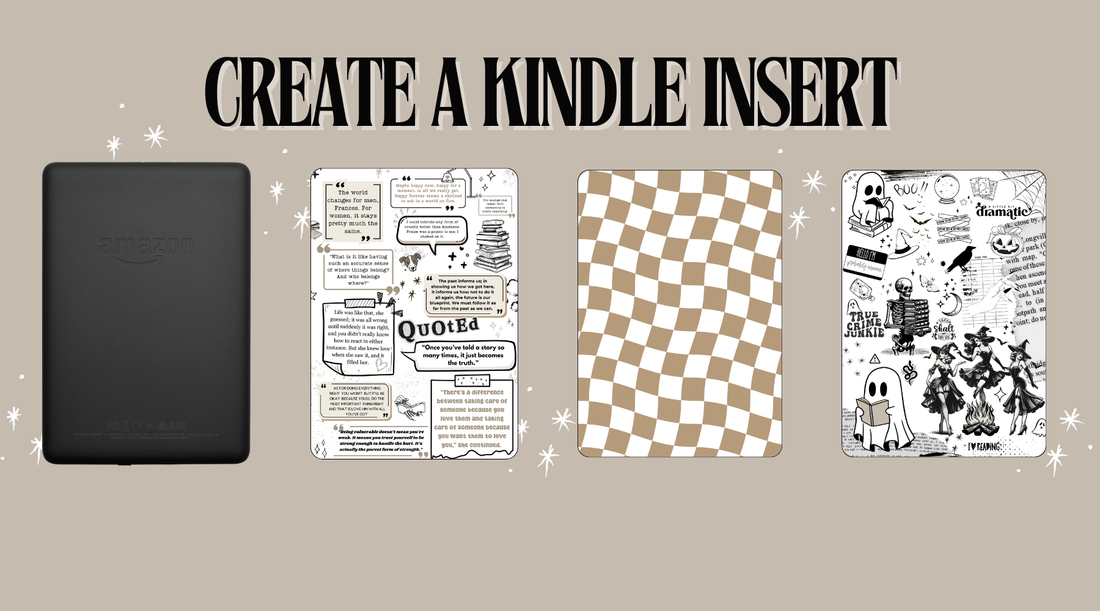
My latest hyper fixation has been designing cute inserts for my kindle case. If you're someone who loves adding a personal touch to your gadgets, customizing an insert for your Kindle case is a great way to showcase your style. Whether it’s a bold

design, a favorite quote, or an inspiring image, a personalized insert will make your Kindle stand out. In this post, I'll walk you through the process of creating a custom insert for your Kindle case using Canva, an easy-to-use online design tool.
Step 1: Measure Your Kindle Case Insert Size
Before jumping into Canva, you need to know the exact dimensions of your Kindle case insert. Measure the area where the insert will go (typically, this is the clear cover on top of the case). I've created templates in Canva for the sizes below. If you use the template, skip to step three.
The Kindle cases I use are here and here.
Common Kindle sizes include:
- Kindle Paperwhite: 4.6 x 6.8 inches
- Kindle Oasis: 4.8 x 6.6 inches
- Basic Kindle: 4.5 x 6.3 inches
Once you have your measurements, you can use these to set up your Canva project.
Step 2: Set Up a Custom Canva Project
- Head to Canva (https://www.canva.com/) and sign in (or create an account if you don’t have one).
- From the Canva homepage, click on “Create a Design” in the top right corner.
- Select “Custom Size" and input the dimensions of your Kindle case insert. For instance, if you’re designing for a Kindle Paperwhite, you’ll enter 4.6 inches (width) and 6.8 inches (height).
Step 3: Choose Your Design Style
Once you’ve set up your custom canvas, it’s time to unleash your creativity! There are endless possibilities for your Kindle case insert design.
Option 1: Add a Photo or Image
- Upload your favorite photo or browse Canva’s extensive library of free images.
- You can add images of nature, abstract art, or even your own artwork.
- Position and scale the image to fit the canvas.
Option 2: Create a Pattern
- Use shapes, lines, or Canva's pre-designed patterns to create a simple, minimalist design.
- For a cohesive look, choose colors that complement your Kindle case.
Option 3: Use Text and Graphics
- Add a motivational quote or your favorite book quote.
- You can use Canva’s font library and pair fonts for a stylish design.
- Consider adding some graphic elements like doodles, icons, or illustrations that reflect your interests.

Step 4: Customize the Design Elements
You can personalize your insert further by:
- Adjusting colors to match your Kindle case or personal style.
- Using filters or effects on images to give them a unique touch.
- Adding borders or frames to enhance the visual appeal.
Take your time with this step, playing around with different elements until you're satisfied with your design.
Step 5: Download and Print Your Design
Once you’re happy with your design:
- Click the “Share” button in the top right corner of Canva.
- Choose “Download” and select the desired format (PDF for print is ideal for high-quality output).
- Print your design on high-quality paper that fits the Kindle case size. You can use glossy photo paper for a polished look. I like to use matte paper for a more subtle finish. I also like to use a matte laminate sheet on the front. It makes removing any stickers you might add easier to remove later.
Step 6: Cut and Insert the Design
After printing:
- Carefully cut the design to match the dimensions of the insert slot on your Kindle case.
- If the case has rounded edges, make sure to round the corners of your design.
- Gently insert the design into the case, ensuring it sits flat and doesn’t wrinkle.
What design will you create for your Kindle case insert? Share your thoughts or creations in the comments below or tag me on IG so I can see them! 🤎